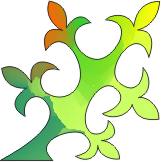
Fill an irregular shape using the Mesh Fill Tool
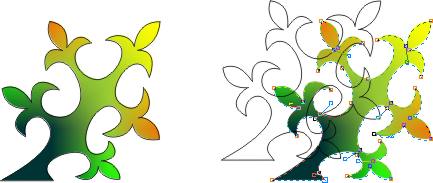
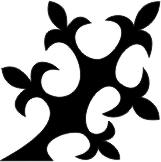
Filling up this ornamental shape with the Mesh Fill Tool will yield strange results.
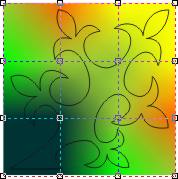
Step 1:
Create a rectangle behind the irregular object. You can do that either by arranging the order of the objects within a layer so that the rectangle is behind the irregular object or you can place the rectangle on a new layer behind the current one.
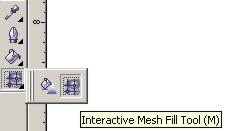
Use the Mesh Fill Tool to apply color.
Make sure your object has no fill so you can see through it.
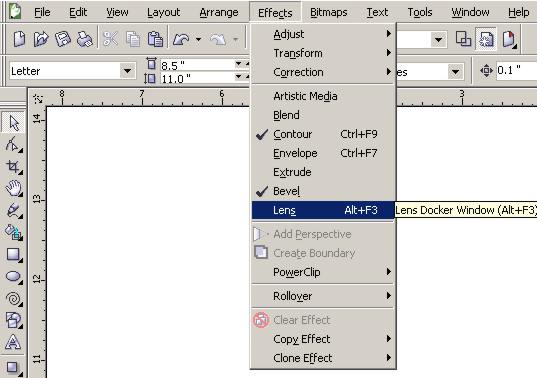
Step 2
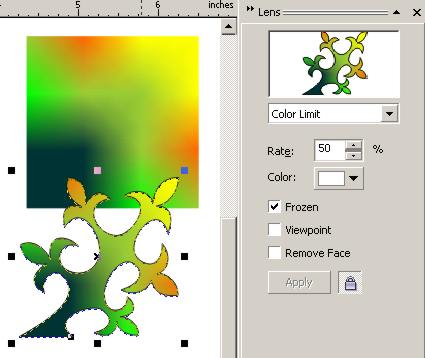
Open up the lens docker by selecting from the menu bar Effects > Lens.
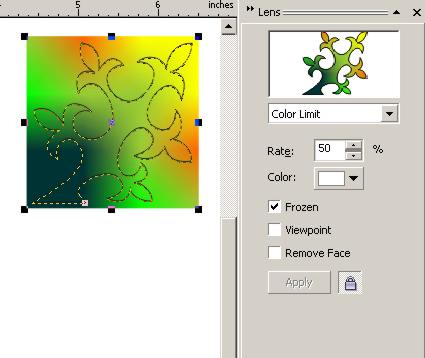
Step 3:
Select your object (not the rectanlge) and choose Color Limit, keep the default rate, and choose the color white.
(Alternatively, you can choose the Transparency lens and enter 100% for the Transparency Rate.)
Check the Frozen box.
Step 4:
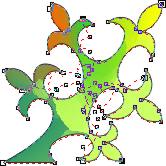
Move your object away from the box and you'll see that it has taken on the Mesh Fill colors.
Step 5:
To edit the nodes, Ungroup All.